
We know how busy all the people around the world are. They do not spend too much time at home because of their everyday duties. However, that doesn’t mean we should not strive to make our home more comfortable. Doing that is possible in several different ways. However, it seems that people are not willing to learn new things.
Some people will agree that home improvement is a mixture of science and art. That is the reason why people would rather hire someone to do certain things instead of them. Yet, spending additional money is unnecessary if you know how to do those things alone. You only need to research things a little and find the best possible solution for particular home tasks.
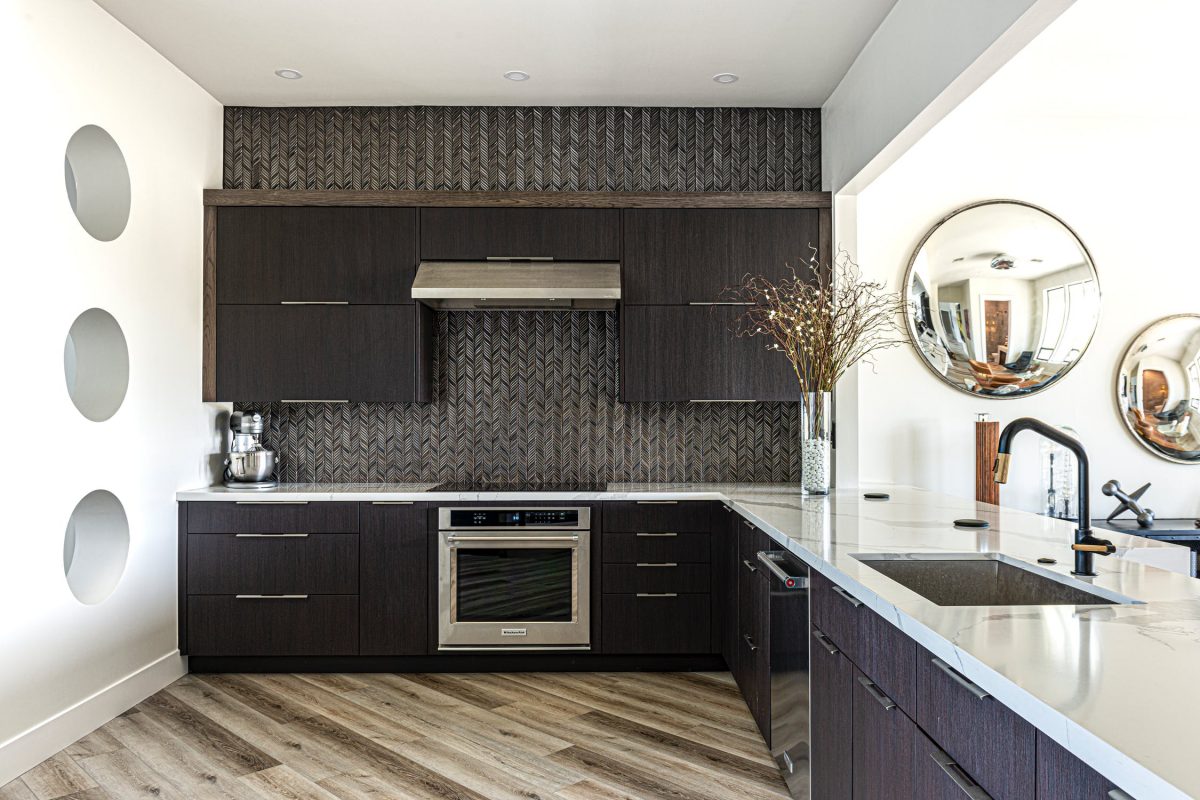
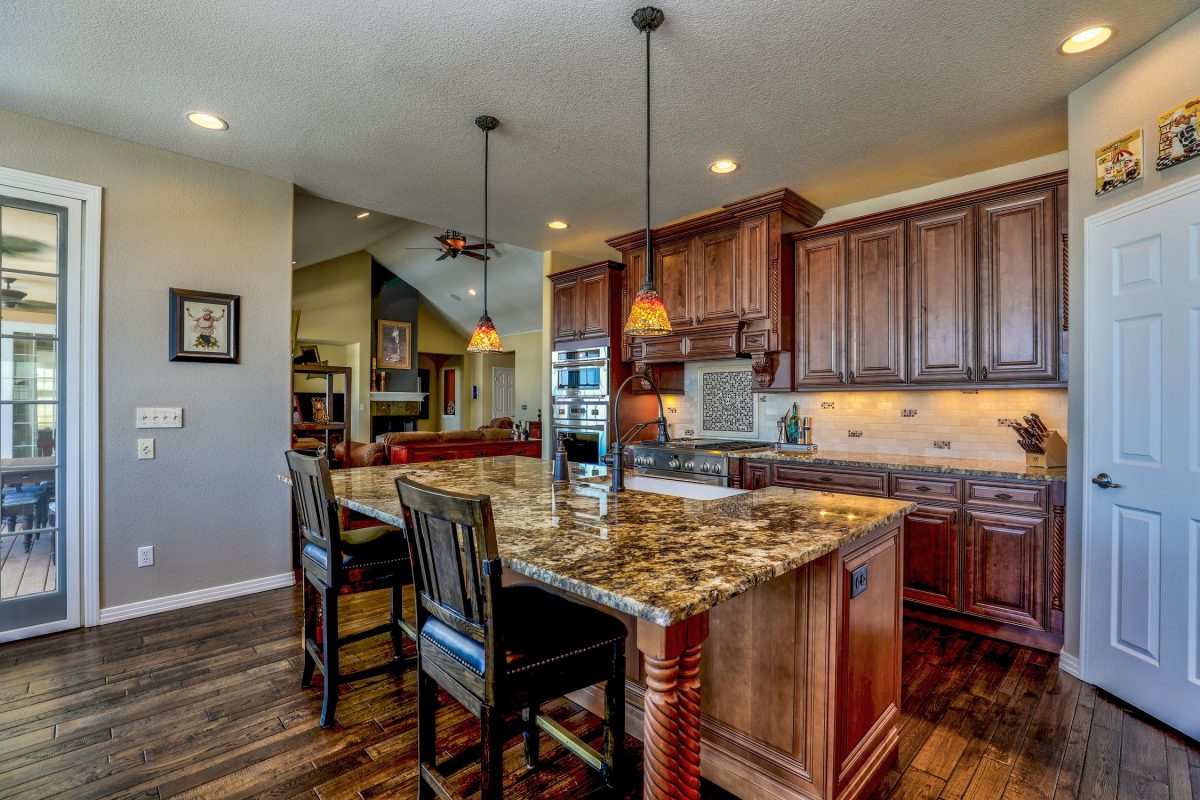
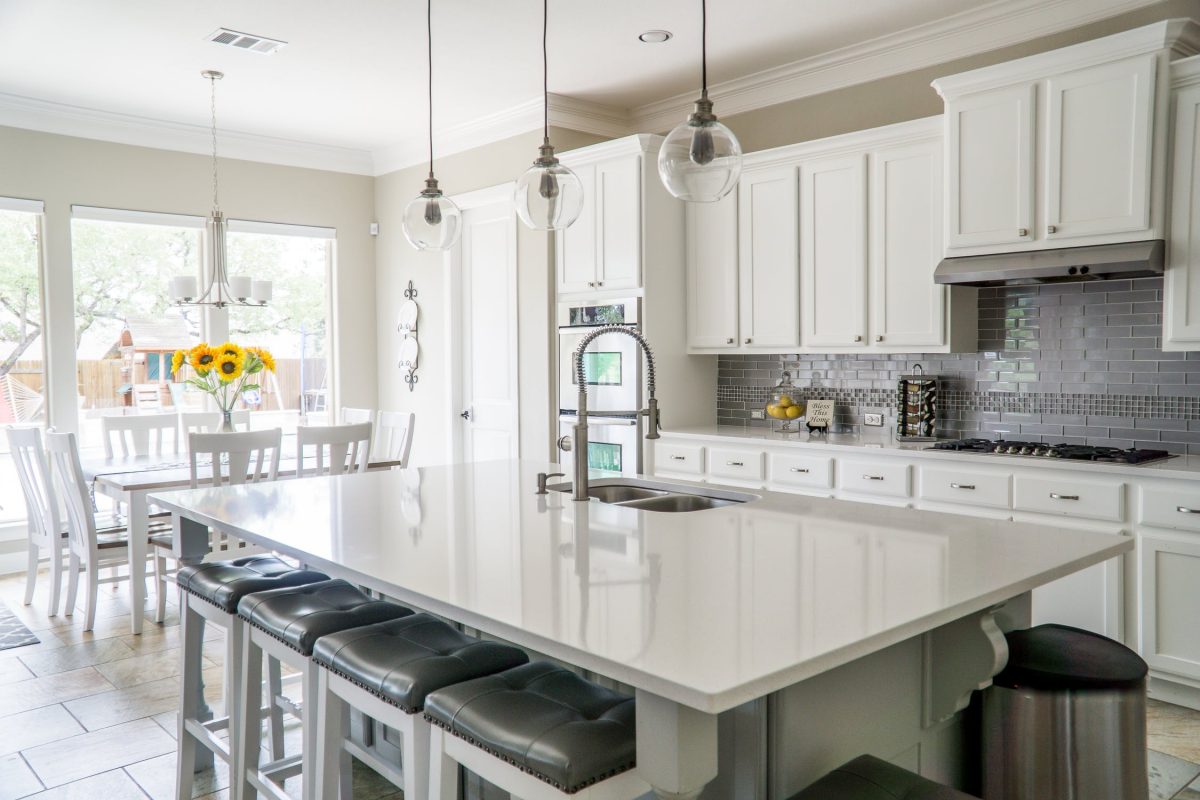
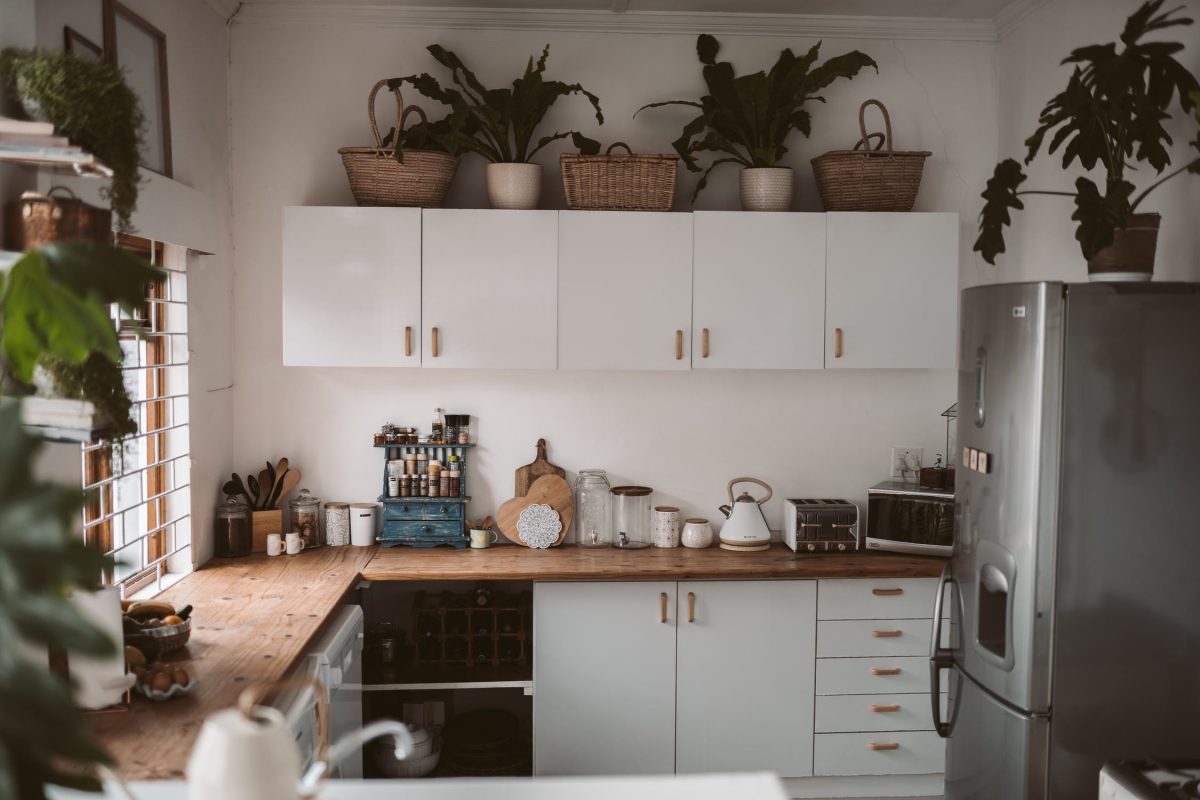
The kitchen is one of the rooms that is essential for your everyday routine. We can agree it is not part of the house where people can relax. More precisely, it is the place where many duties are waiting for us. Yet, the design of our kitchen can inspire us to cook and prepare different specialties.
The first thing that people would want to change is their kitchen cabinets. However, there is no need to purchase new ones. Instead of that, you can paint them with a sprayer. That is one of the most effective ways to make your kitchen cabinets look fresh like before.
There are many websites like Toolblaze where you can find out more about different types of sprayers. Yet, finding the perfect tool is not the most complex part of the process. People often do not know how to paint kitchen cabinets with a sprayer. Because of that, we would like to provide you with a guideline that will make the entire process easier.
Before Everything – Clean the Cabinets

The first thing you should do is to prepare everything for the painting process. More precisely, preparation is an essential part here. That is the reason why you primarily need to clean the cabinets. It is not a secret that people are not cleaning their cabinets too often.
There is a big amount of grease that you will have to remove to get the best results. It is recommendable that you use warm water and dish detergent for this purpose. You may find some other pieces of advice on how to do this. Yet, there is no need to experiment with things. These two “tools” will guarantee that your cabinets become completely clean and ready.
Now Remove the Doors
The next thing you need to do is to remove the cabinet doors and drawers. We are sure that you won’t struggle to accomplish that. It won’t take you more than 10 minutes to remove them all. However, there is one valuable piece of advice that we need to share here.
It is recommendable that you develop a letter or numbering symptom here. People often forget what goes where, and it takes time until you put everything together. At first glance, this may not seem like a relevant thing. However, when you end the entire process, you will be grateful for reading this piece of advice.
Tape Everything
We are sure that you would not want to make a mess when doing this. That is the reason why you need to tape off different things. Before everything, you need to tape the floor, some of the ceilings as well as the countertops. We are not quite sure if you plan to paint the area inside of the cabinets as well. However, if that’s not the case, then you need to tape that as well. Unfortunately, that is probably the toughest part of the entire taping process.
There is one additional piece of advice that is helpful. Before everything, an old piece of newspaper is going to be enough to tape everything. However, the way how you will tape things is more essential. It is recommendable that you start with the bottom of the frame. After that, you should also tape the sides and top of the frame. The last step of the process should be taping off the back of the inside frame. In that way, you will be sure that you managed to do everything properly.
Get Ready for the Painting
There are two things that all the homeowners need to set up. Despite the spray booth for painting, you also need to ensure a staging area. The selection of staging area depends on different factors. For instance, let’s imagine that you plan to paint your cabinets with a sprayer during summer days. In that case, the staging area can be in your garage or even outside. Some people would decide on using their basement to complete the job.
It is recommendable that you choose the area that has doors that lead to outside. In that way, you will ensure good ventilation.
The Party Begins Now!
Different parts of your kitchen cabinets require a different method of painting. That is the reason why we will highlight each one.
The first thing you should do is to paint the cabinet doors. Use the narrow spray to paint the outside edges. After you do that, focus more on the center area. In that way, you will ensure complete coverage. When you complete the process, carefully take your doors and place them in the drying area.
Yet, some people decide on painting both sides of their cabinet doors. In that case, you need to start the entire process a bit differently. It is in your best interest to start from the are inside the cabinet. As you know, mistakes are not unusual for different DIY projects. If something bad happens, you will get a lesson that does not cost you a lot. More precisely, you will make a mistake in a less visible area of the cabinets.
Painting the cabinet frame is not so different than that. You need to clean the frames carefully, paint them, and wait for 24 hours to get dry. After the time passes, you can once again rehang the doors. That is the only way to make your cabinets look fresh once again.
Believe it or not, we came to an end. This is how the entire DIY painting looks. We know that many people believed it was a more complex process than that. However, the key here is to follow the instructions and be patient. That is the only way to reach the goal that you have.


