
If you have decided to go solar, your question is: where to start from? First, you should read this article. Sit comfortably. Let’s go.
Solar Panels
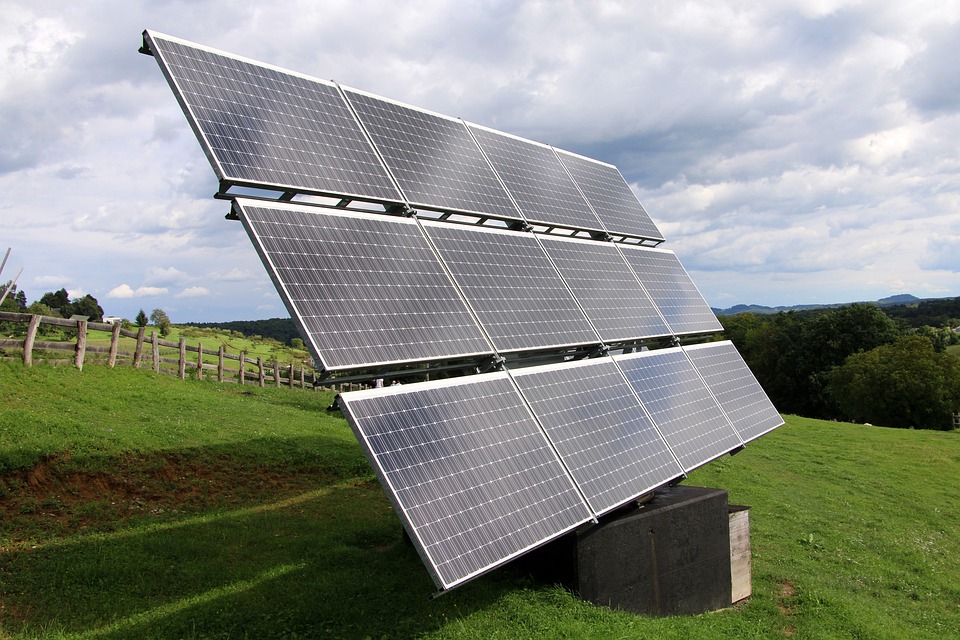
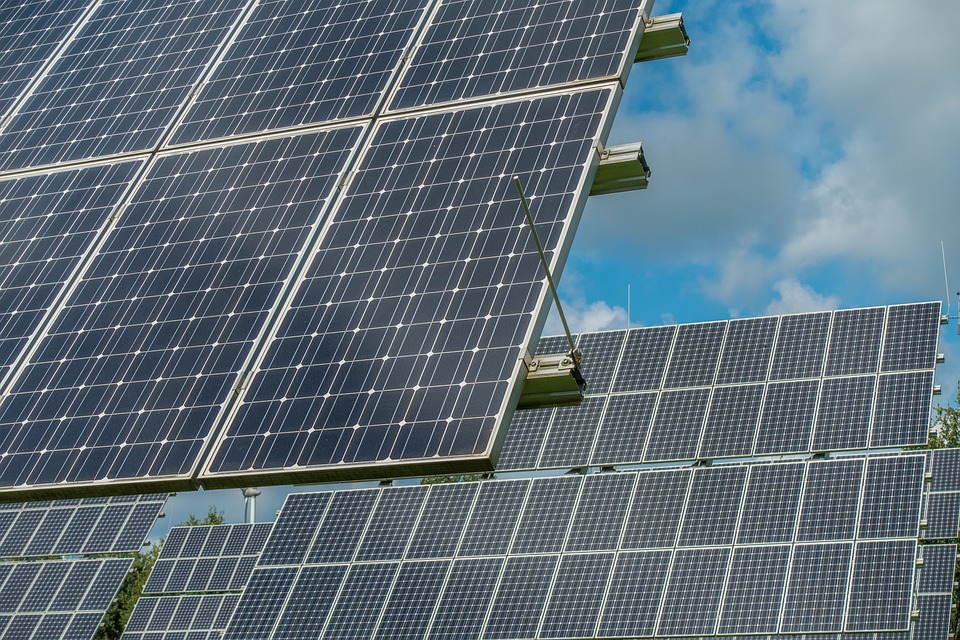
Solar panel installation starts from solar panels. Solar panels, or in other words, photovoltaic modules, are the assembly of photovoltaic cells that are bound together to form a solar panel. These cells are responsible for solar energy absorption and DC generation. The DC is then transferred into AC via an inverter. This AC is the solar electricity suitable for house load utilization and is supplied to the electrical equipment from the Array.
There are two types of solar panels: monocrystalline and polycrystalline. The difference between these two types comes from technology, efficiency and price. Let’s take a closer look at both and figure out which one is more suitable for you.
Technology
The monocrystalline solar panel is dark blue or black. According to Texas Solar Group, the future panel’s silicone crystals are melted at 2,50- degree Fahrenheit to produce a liquid mass. The seed crystal is dipped into the melted substance and gradually pulled up. It is set to cool for a few days, after which it turns into a conical shaped ingot. This ingot is then sliced into pieces to form the solar panel.
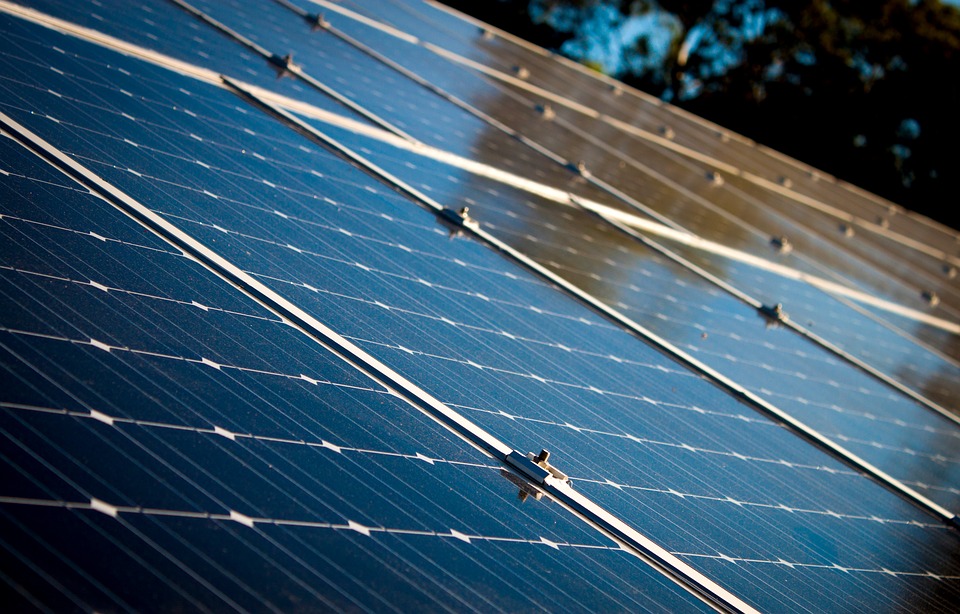
Polycrystalline solar panel’s manufacturing technology is more straightforward and less expensive, explaining the difference in the price of these two types. About 1300 pounds of silicone rocks are loaded into 3×3 foot quarts mold to create a square shape and load it into a 2500-degree Fahrenheit furnace. The melting process requires about 20 hours, and about three days is necessary for the substance to cool down. The result is the blue board-like panel.
Price and Efficiency
As already mentioned above, mono solar panels have a more complicated production technology, making them a little more expensive than polycrystalline ones. To better imagine the price difference between the two types, let us consider several examples in the table below.
Solar Panel Type
- Price in USD
- Efficiency in favorable conditions (W)
- Efficiency in shady conditions (W)
- Efficiency in unfavorable conditions (W)
Renogy 100W Mono
- $125
- 57 – 55 watts
- 9.6 watts
- 6 – 9 watts
HQST 100W Mono
- $100
- 57 – 51 watts
- 10.5 watts
- 8 – 10 watts
Rich Solar 100W Poly
- $80
- 70 – 65 watts
- 13.2 watts
- 12 – 13 watts
Renogy 100W Poly
- $110
- 70 – 67 watts
- 13.5 watts
- 12 – 13 watts
As you can see, an average monocrystalline solar panel cost is a bit higher than that of polycrystalline. There is also a difference in size: hence, mono is slightly smaller in surface than polycrystalline. To speak in numbers, imagine that the two mono solar panels in the table above are 819 sq. in. and the poly solar panels are 1046.75 sq. in. Although it is well known that monocrystalline solar panels perform the best efficiency, the table above proves the opposite. It may seem at first that the winner here is the poly solar panel. So, the question arises, how to make a choice? The best method of pricing evaluation is cost-per-watt calculation. Take several proposed products and divide the panel cost by its rated wattage. Thus, for instance:
- Astronergy 365W solar panel: 257/365=70cent/watt
- Mission Solar 385W solar panel: 319/385=82cent/watt
What comes out? If you choose Mission Solar 358W, it will take fewer solar panels in your Array, but it will cost more due to the panels’ high cost-per-watt.
A Few Statistics
As you probably already guess, modern markets propose various brands for their consumers to choose from. Among them, the best-selling models are considered those manufactured by the following companies:
- LG
- Panasonic
- Sun Power
- Canadian Solar
- Q CELLS
- Trina Solar
- JinkoSolar, and others.
From the list mentioned above, below are highlighted several products which are well-known for high performance and durability:
- LG NeON R ACe – 380W power, 22 percent efficiency, 25 years warranty, 90.8 percent performance warranty after 25 years
- Panasonic HIT N340 – 340W power, 20.3 percent efficiency, 25 years warranty, 90.76 percent performance warranty after 25 years
- SunPower Maxeon 3 – 400W power, 22.60 percent efficiency, 25 years warranty, 92 percent performance warranty after 25 years
- SunPower Maxeon 3 BLK – 375W power, 21.2 percent efficiency, 25 years warranty, 92 percent performance warranty after 25 years
- SunPower X-Series X22 – 370W power, 22.7 percent efficiency, 25 years warranty, 92 percent performance warranty after 25 years
You Can Do It Yourself

As residential and commercial solar system consumption is gaining more popularity day by day, the demand for solar system service delivery is growing simultaneously. Countless companies are providing high-level products and services in the related field. Once you make a purchase and confirm your order, professional experts deploy the necessary equipment in your area and make necessary solar system installation preparations.
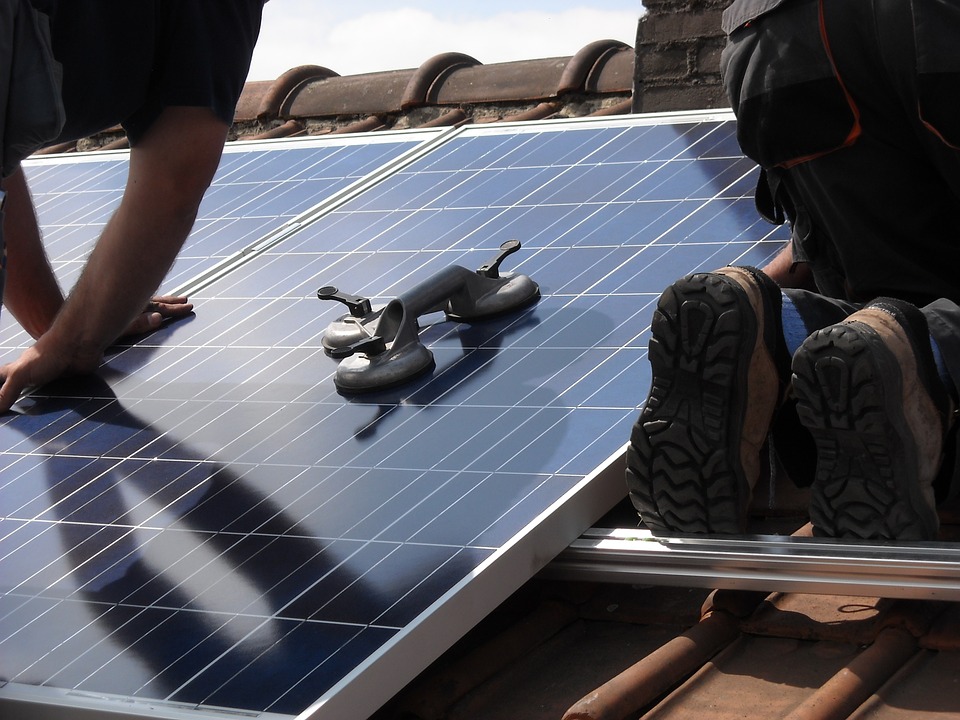
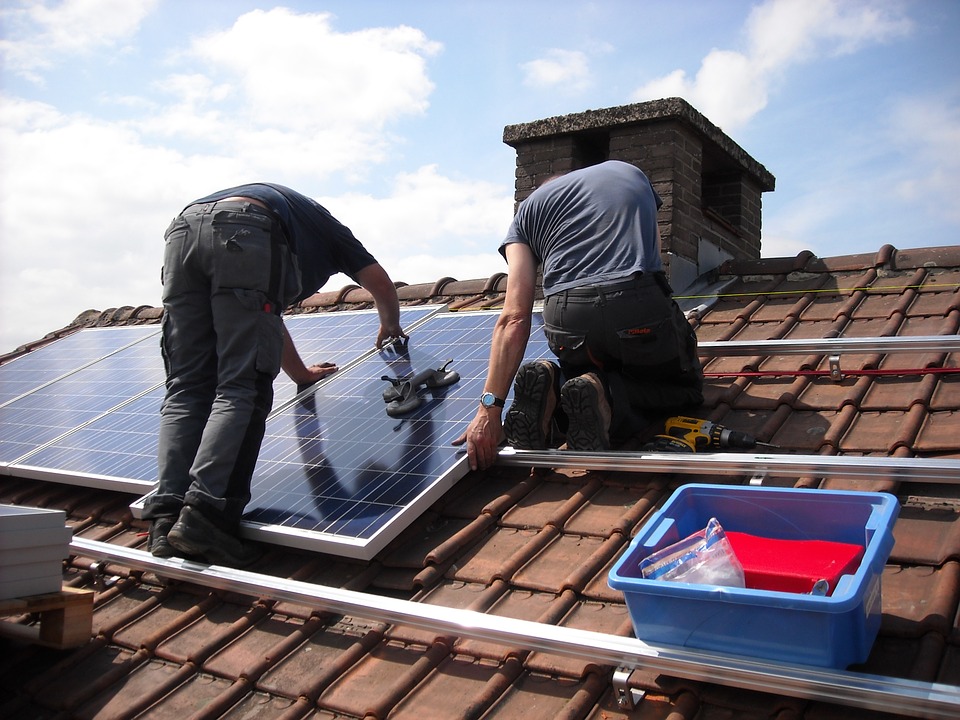
A free solar panel installation is an option if you want to save some money on it. Yes, you can do it yourself! The whole process is much more straightforward than it may seem at first sight. A solar panel installation manual is mandatory for you in this case. Also, a diagram with house rooftop specific features for your area would be great. With these two benefits, the process of solar panel installation is pretty much like LEGO construction. All you need is necessary devices and equipment, wires and inverters/microinverters and, of course, positive vibes.
Oh, and don’t forget about safety, which is the most important in all solar panel installation processes. It is relatively easy to fall off the roof: you can lose your balance or slip down while working. As you plan to get on your house roof, make sure to have scaffolding and wear rubber boots. Another threat is the possibility of getting an electric shock while connecting the wires and electrical devices. So, once again, ensure your safety by turning off all the house electricity. Once you make sure your safety is in place, you are ready to get to work.
The proper sequence of solar panel installation is as follows:
- First, come the solar panel mounts. The mounts must be set up at the right angle to ensure maximal sunlight absorption by the solar panels. That is 18-35 degrees.
- Then logically come the solar panels. There is nothing extraordinary in the installation process; follow the manual, and make sure they are fixed tightly on the mounts.
- Following the solar panels comes the wiring. The MC4 connectors can be suggested as they are very flexible to suit all types of solar panels. The wiring diagram will be of great assistance to you as well.
- Inverters are your next device to deal with. Either ordinary one-two inverter or microinverters are suitable for residential installation. The latter’s advantage is that a set of microinverters will ensure your solar system performance even if one solar panel goes off or malfunctions for some reason. However, it would be best if you considered that with microinverters, you would spend much more money than in the case of one or two inverters as each solar panel will require its microinverter. If you still choose an ordinary inverter, don’t forget that an inverter must be installed in a cool and dry place, away from direct sunlight or any water source, in a place with permanent ventilation to avoid its warming.
- A solar battery is an optional device if your residence is connected to the local grid. But if it’s not, you must install one to ensure your house’s permanent power supply. The best-seller of solar batteries is Tesla Powerwall. With flexible parameters and a sleek design, this device is all you need for your everyday comfort. The battery must be installed bound to the inverter.
- The inverter must be connected to the consumer unit. The generation meter is another device that must be installed to implement the monitoring of actual electricity produced by the solar panels. Solar panels’ performance can be regularly checked via special applications by a computer or other devices.
- With the last step, you must turn on the house electricity and enjoy your super creation.
Budget
Although the initial cost of solar system installation is high, this should not scare you by any means. You may ask why? The answer is simple. Your local power grid more or less refunds all the initial costs of solar system installation.
As mentioned above, installing a power storage battery is desirable as this device will serve you a great deal in the future. Let me explain to you the details. When solar panels generate extra energy that can’t be consumed in your daily household routine, the power battery can store the extra energy for later use. It can be either for house electricity supply or EV charging. And guess what? You can also transmit this energy to your local electricity grid and receive compensation for it.
Solar panel costs vary based on several factors:
- the number of panels required per kW
- the panels’ access to sunlight
- an area where you live
- the type of your property (residential or commercial)
- the type of solar panel you choose
Don’t forget about your Return on Investments (ROI) as well.
- First, get an estimated system price from a solar panel installation company such as Texas Solar Group. Make sure to research and inquire about several companies before making a final choice. With several offers at your disposal, it will be easier for you to make a final decision to benefit your budget.
- Your next step is to divide the estimated solar panel system cost by your local utility company’s electricity cost.
- Finally, divide the result by your annual electricity usage in kilowatt-hours.
Commercial Installation
The commercial solar panel installation has several benefits for which it has become one of the most popular solutions for business owners. Several benefits of commercial installation include:
- It gives a great return on investments
- Improves your cash flow
- Increases your property value
- Controls future energy bills
- Reduces operating costs
- Improves the image of your brand as an eco-friendly institution
- Tax credits
- Bonus deprecations, and others.
In Harmony with Nature
As already noted, one of the benefits of commercial solar panel installation is the improvement of your brand name. The explanation for this statement is that the alternative power source maintenance is also an eco-friendly green solution with zero emissions. It is a 100 percent natural energy source and an innovative solution as well. If you have been looking for the right moment to contribute to environmental improvements, this is your chance.
Price Calculation
Let’s consider the Californian solar panel calculation methodology. Nowadays, the average cost for a solar panel is about $3.03/W. With an average of 5kW solar panel system size, California’s installation cost ranges from $12,878 to $17,422.
With 26% of the Federal Investment Tax Credit (ITC) and other local solar incentives, the prices will significantly fall even more. Thus, for instance:
3kW ►$ 9,090 ►$ 6,727
6kW ►$ 18,180 ►$ 13,453
9kW ► $ 27,270 ►$ 20,180


